This Easy Homemade Raw Milk Ice Cream is a creamy treat that you can whip up in no time! Just use fresh raw milk, some sweetener, and a splash of vanilla for that classic flavor.
Making ice cream at home is like having a little party in your kitchen! It’s so simple, and you can customize it with your favorite mix-ins—who doesn’t love chocolate chips or fruit? 🍦
I really enjoy this recipe because it requires no fancy equipment. Just blend, freeze, and enjoy! It’s a great way to cool off on a hot day while treating yourself with something delicious and natural!
Key Ingredients & Substitutions
Raw Whole Milk: This is the star of the recipe! Raw milk adds richness and natural flavor. If you can’t find it, you could use whole pasteurized milk, though it may not be as creamy or flavorful.
Heavy Cream: I prefer using heavy cream for that luxurious texture. You can use half-and-half for a lighter version, but it may not be quite as rich. Non-dairy creamers can work for a dairy-free option!
Granulated Sugar: Regular sugar is perfect for sweetness, but if you’re looking for alternatives, try honey or maple syrup. Keep in mind, these might change the texture a bit.
Vanilla Extract: Pure vanilla extract adds essential flavor. If you want to experiment, almond extract can be a fun twist. Just remember it’s stronger, so start with less!
How Do I Get Creamy Ice Cream Without Ice Crystals?
Achieving that perfectly creamy ice cream involves a few key steps. First, make sure your mixture is well chilled before churning. If it’s already cold, it churns faster, minimizing ice crystals.
- Churn for the right time—20-25 minutes is usually perfect!
- Transfer it to an airtight container right after churning. This prevents air and moisture from forming ice crystals while it freezes.
- Allow it to freeze for a couple of hours. The longer it freezes, the firmer and creamier it will become.
Enjoy your homemade ice cream fresh or customize it with your favorite mix-ins like chocolate chips or fruit! The key is to have fun and make it your own!
Easy Homemade Raw Milk Ice Cream
Ingredients You’ll Need:
- 4 cups raw whole milk
- 1 cup heavy cream
- 3/4 cup granulated sugar
- 1 tablespoon pure vanilla extract
- A pinch of salt
How Much Time Will You Need?
This delicious ice cream recipe will take about 15-20 minutes of preparation time, plus 20-25 minutes for churning in the ice cream maker, and at least 2 hours to freeze until firm. So, it’s a bit of a waiting game, but totally worth it for that creamy treat!
Step-by-Step Instructions:
1. Combine the Ingredients:
In a large mixing bowl, add the raw whole milk, heavy cream, granulated sugar, vanilla extract, and a pinch of salt. Use a whisk to mix everything together well until the sugar is completely dissolved. This should take just a few minutes!
2. Churn the Mixture:
Once your mixture is ready, pour it into your ice cream maker. Follow the manufacturer’s instructions for churning, which typically takes about 20-25 minutes. You want it to reach a soft-serve consistency—smooth, creamy, and ready for freezing!
3. Freeze It Up:
After churning, transfer the ice cream to an airtight container. Make sure it’s sealed well to keep out air and moisture. Place it in the freezer for at least 2 hours so it can firm up nicely. The longer it stays in the freezer, the firmer it will get!
4. Serve and Enjoy:
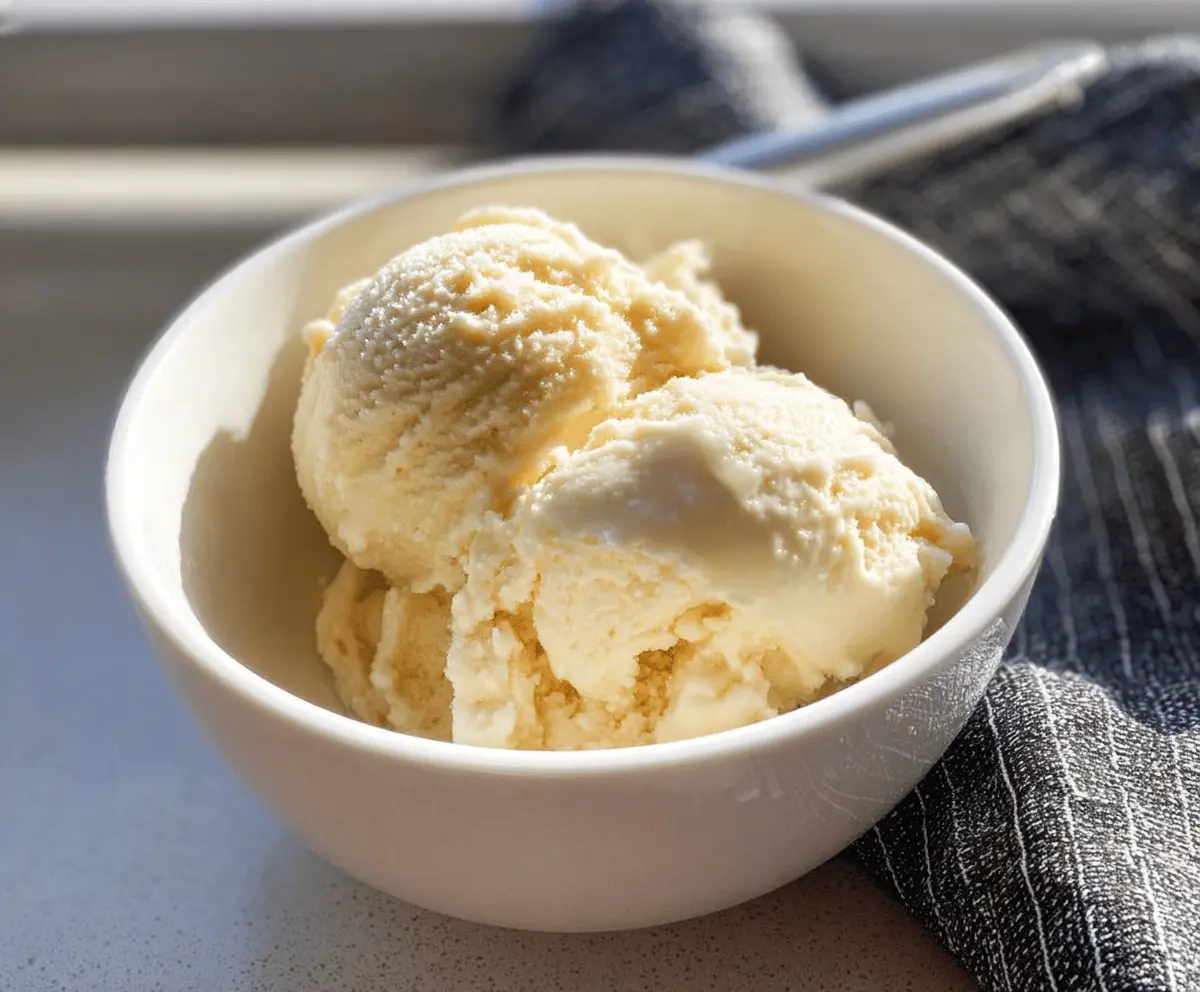
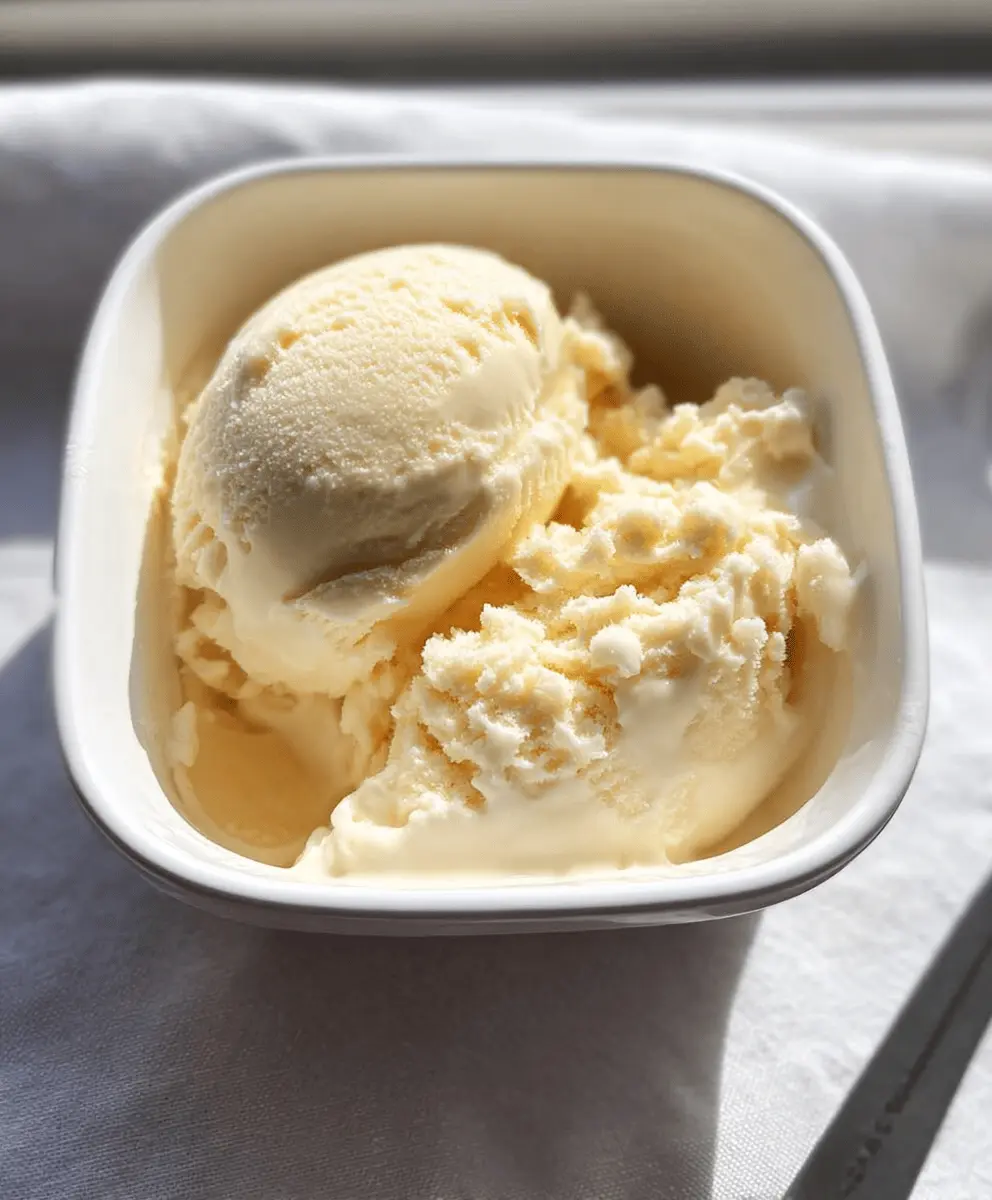
When your ice cream is ready, scoop it out and serve it in bowls or cones. Enjoy the rich, creamy texture and the fresh vanilla flavor of your homemade raw milk ice cream. This treat is perfect for hot days or any time you crave something sweet!
That’s it! You’ve made your own homemade ice cream. Feel free to get creative with add-ins like chocolate chips, nuts, or fruit if you’re feeling adventurous!
FAQ About Easy Homemade Raw Milk Ice Cream
Can I Use Pasteurized Milk Instead of Raw Milk?
Yes, you can use pasteurized whole milk if raw milk is not available. Just note that the flavor and creaminess might not be quite the same, but it will still make a delicious ice cream!
What If I Don’t Have an Ice Cream Maker?
No problem! You can still make ice cream without an ice cream maker. Pour the mixture into a shallow dish and freeze. Stir every 30 minutes with a fork for about 2-3 hours until it reaches a creamy consistency.
How Long Can I Store Leftover Ice Cream?
Your homemade ice cream can be stored in the freezer for up to 2 weeks. Just make sure it’s in an airtight container to prevent freezer burn. For the best texture, allow it to soften a bit at room temperature before scooping.
Can I Add Mix-Ins to the Ice Cream?
Absolutely! Feel free to get creative with add-ins like chocolate chips, nuts, crushed cookies, or fresh fruits. Just fold them in gently during the last few minutes of churning or right before transferring it to the container.