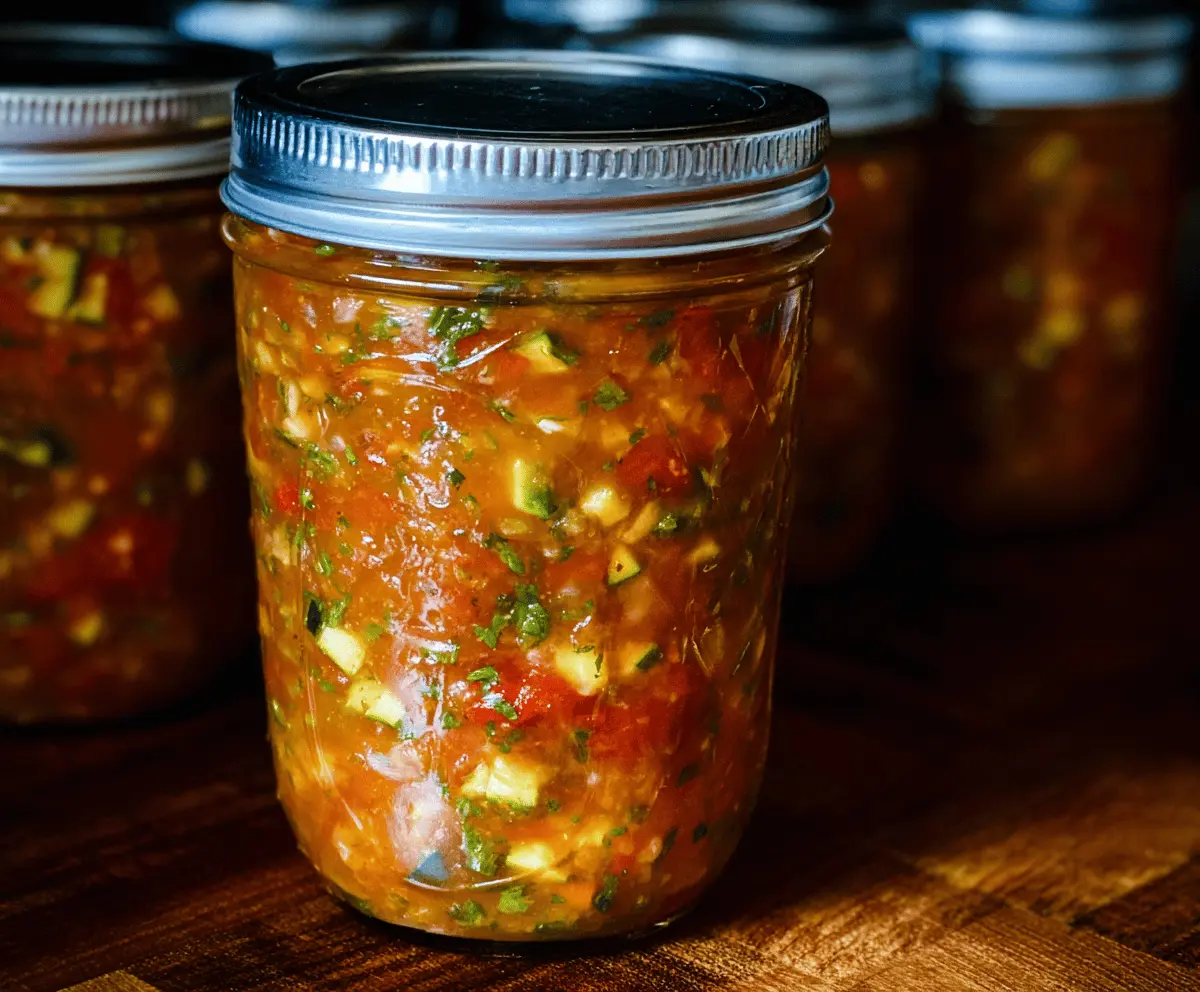
This Easy Homemade Zucchini Salsa is a tasty twist on the classic salsa we love! Made with fresh zucchini, tomatoes, onions, and spices, it’s perfect for canning or enjoying right away.
I love how you can spice it up or keep it mild—just the way you like it! Plus, it’s a great way to use up that extra zucchini from the garden. Get ready for chip-dipping fun! 🌶️
Key Ingredients & Substitutions
Zucchini: Fresh zucchini gives the salsa its unique character. If you’re out, yellow squash can be a good substitute. Both have a mild flavor and similar texture.
Tomatoes: Fresh tomatoes are key for that juicy flavor. If you’re short on fresh ones, canned tomatoes can work, but be sure to drain them a bit to avoid excess moisture.
Onions: I prefer yellow onions for their balanced sweetness. If you want a milder taste, go for sweet onions like Vidalia. Red onions can add a nice color, but they might make the salsa a bit sharper.
Jalapeño Peppers: Adjust the heat to your liking! For a milder version, use fewer peppers or swap them for a sweet pepper like a bell pepper. For more heat, try serrano peppers instead.
Cilantro: Fresh cilantro adds a burst of flavor, but if you’re not a fan, parsley or even basil can be good alternatives for an interesting twist.
How Do I Achieve the Perfect Salsa Consistency?
Getting the right texture for salsa is important. You want it thick enough to cling to chips but not too chunky. Here’s how to get there:
- Make sure to finely chop all the vegetables to promote even cooking.
- Simmer the mixture until it thickens—this usually takes 30-40 minutes. If it’s too runny at first, just give it more time on the stove.
- Use a potato masher or immersion blender if it’s too chunky; just blend it lightly to keep some texture.
Let it cool after cooking! The salsa will thicken further as it cools, so don’t worry if it seems thin at first.
Easy Homemade Zucchini Salsa Recipe for Canning
Ingredients:
- 6 cups zucchini, finely chopped (about 4 medium zucchinis)
- 4 cups tomatoes, peeled and chopped (about 6 medium)
- 1 cup onions, finely chopped
- 1 cup green bell pepper, finely chopped
- 2-3 jalapeño peppers, seeded and finely chopped (adjust for heat preference)
- 3 cloves garlic, minced
- 2 tablespoons fresh cilantro, chopped
- 2 tablespoons sugar
- 2 teaspoons salt
- 2 teaspoons ground cumin
- 1 teaspoon black pepper
- 1 cup white vinegar (5% acidity)
- 1/2 cup water
How Much Time Will You Need?
This recipe takes about 15 minutes of prep time and 40-50 minutes of cooking time. After that, you’ll need about 15 minutes for the canning process. So, in total, you’re looking at around 1 hour and 10 minutes!
Step-by-Step Instructions:
1. Prepare the Vegetables:
Start off by washing all your vegetables thoroughly. Finely chop the zucchini, tomatoes, onions, green bell pepper, and jalapeños. Setting everything up in advance makes the cooking process much smoother!
2. Combine Ingredients:
In a large pot, combine all your chopped vegetables: zucchini, tomatoes, onions, green bell pepper, jalapeños, and minced garlic. This colorful mix will make a delicious salsa!
3. Season the Mixture:
Add the sugar, salt, ground cumin, and black pepper to the pot. Stir everything together well to distribute the seasonings throughout the veggie mix.
4. Add Vinegar and Water:
Pour in the white vinegar and water, and give it another stir to combine everything. The vinegar not only adds flavor but also helps preserve your salsa!
5. Cook the Salsa:
Bring the mixture to a boil over medium-high heat. Once boiling, reduce the heat to a simmer and let it cook for about 30-40 minutes. Make sure to stir occasionally until the salsa thickens to your desired consistency.
6. Stir in the Cilantro:
Once cooked, remove the pot from the heat and stir in the chopped fresh cilantro. This adds a wonderful freshness to your salsa!
7. Fill the Jars:
While the salsa is still hot, carefully ladle it into sterilized canning jars. Make sure to leave about 1/2 inch of headspace in each jar to allow for expansion.
8. Secure the Jars:
Wipe the rims of the jars clean to make sure they seal properly. Then, place the lids and bands on the jars, tightening them until they are snug but not overly tight.
9. Process the Jars:
Process your jars in a boiling water bath for 15 minutes. This step helps to seal the jars and keeps your salsa fresh longer.
10. Cool and Check Seals:
Remove the jars from the water bath and let them cool completely on a clean towel or cooling rack. After a couple of hours, check the seals on the jars by pressing down in the center of each lid (it should not pop up).
11. Storage:
Store the sealed jars in a cool, dark place. Once opened, remember to refrigerate your salsa and enjoy it within two weeks!
Enjoy your fresh homemade zucchini salsa year-round! It’s fantastic served with chips, used in tacos, or as a topping for grilled meats. Happy canning!

FAQ for Easy Homemade Zucchini Salsa Recipe
Can I Use Other Vegetables in This Salsa?
Absolutely! Feel free to substitute or add other vegetables like corn, diced carrots, or even colorful bell peppers for varied flavors and textures. Just keep the total volume similar to maintain the right salsa consistency.
What’s a Good Alternative to Vinegar?
If you prefer not to use vinegar, you can try fresh lime or lemon juice for a similar tang. Just ensure to adjust the amount to taste, as citrus can be more potent than vinegar!
How Long Can I Store the Salsa?
When properly sealed and stored in a cool, dark place, your canned zucchini salsa can last for up to a year. Once opened, refrigerate and use it within two weeks for the best flavor and freshness.
Can I Freeze This Salsa Instead of Canning?
Yes! If canning isn’t your thing, you can freeze the salsa. Allow it to cool completely, then transfer it to freezer-safe containers, leaving some headspace for expansion. It should last for about 3-6 months in the freezer. Just thaw in the fridge before using!