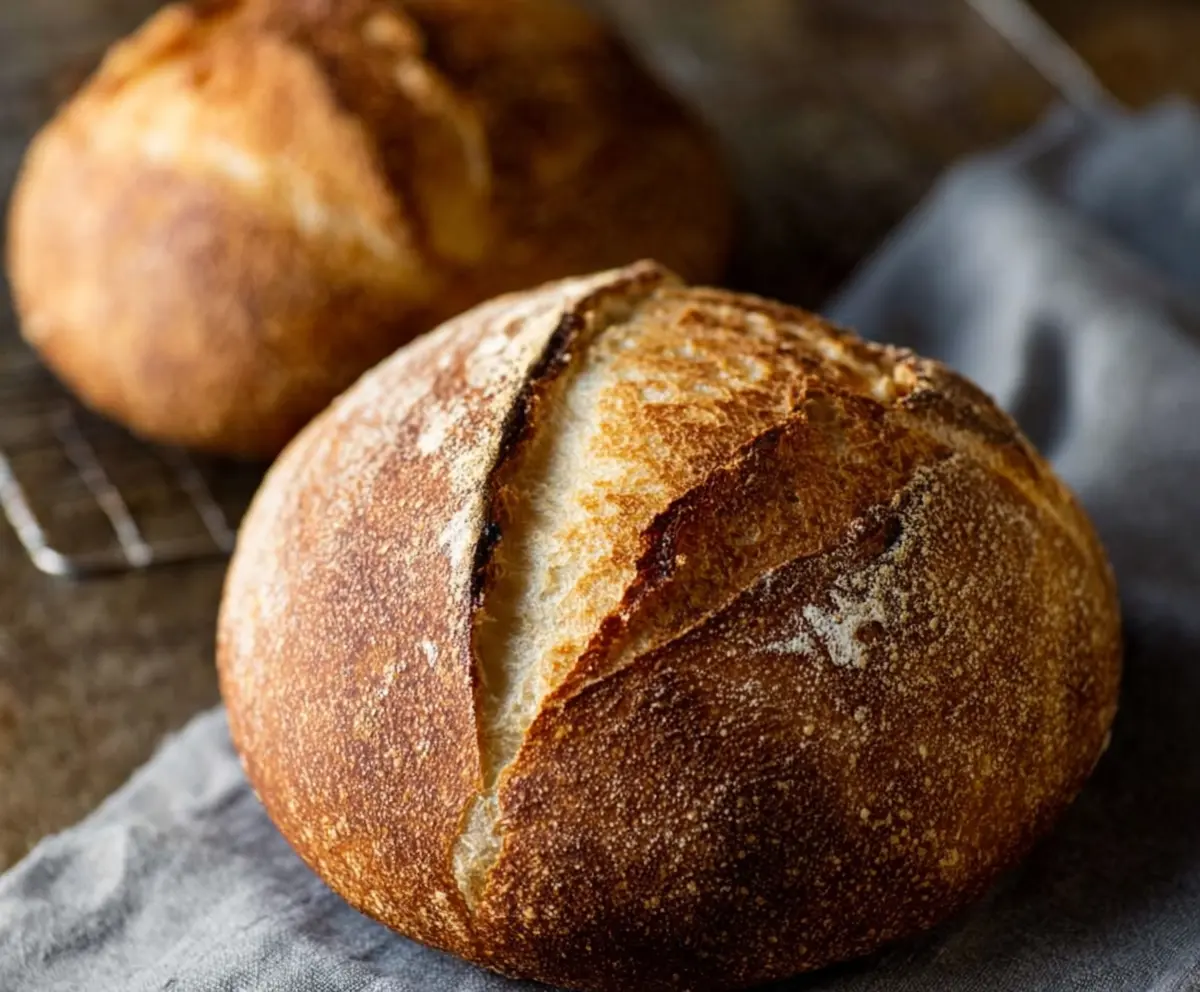
This Best Ever Sourdough Bread Recipe is a real treat for anyone who loves that perfect crusty outside with a soft, chewy inside. Made with just a few simple ingredients like flour, water, salt, and a lively sourdough starter, it’s a classic loaf that fills your kitchen with the most amazing smell while it bakes. The step-by-step instructions help you get the timing and techniques just right, even if you’re new to baking sourdough.
I love how this recipe breaks everything down so clearly, making the whole sourdough process feel manageable and fun instead of overwhelming. Watching the dough rise and bubble is really rewarding, and there’s something extra special about slicing into a loaf you made yourself. Plus, you can adjust the crust and crumb just how you like it by tweaking the baking times and hydration. It’s a recipe I come back to whenever I want fresh bread that tastes like it came from a bakery but with way less fuss.
My favorite way to enjoy this sourdough is warm with a little butter melting into those chewy pockets. It’s also amazing for sandwiches or toasted with jam for breakfast. I’ve shared this recipe with friends, and they’re always impressed when they get to enjoy homemade sourdough thanks to the clear steps. If you’ve been curious about making sourdough but haven’t tried yet, this recipe is a welcoming place to start—you’ll feel proud, and the bread is totally worth it.
Key Ingredients & Substitutions for Sourdough Bread
Bread flour: This gives your dough strong gluten, making the bread chewy and elastic. You can mix in all-purpose flour to soften the texture, but higher protein flour helps develop that classic sourdough bite.
Water: Using water around 75-80°F helps activate the starter without overheating. If your tap water is chlorinated, consider filtered water to keep your starter happy.
Sourdough starter: This is your natural yeast. Make sure it’s bubbly and active before using. If you don’t have a starter, you’ll need to make one or get some from a friend. Store-bought yeast won’t give the same tangy flavor.
Salt: It controls fermentation and adds flavor. Don’t skip this! If you need a lower sodium option, reduce slightly but not too much or it’ll impact the dough structure.
How Do You Get the Perfect Rise and Crust in Sourdough Bread?
The key is the bulk fermentation and baking steps. Here’s how to nail them:
- Bulk fermentation: Let your dough rest and grow in a covered bowl. Stretch and fold every 30 minutes during the first two hours to build strength. This keeps gluten even and traps gases for a great rise.
- Shaping: Shape tightly so the loaf holds its form. The “pulling” motion when you shape helps tighten the surface.
- Proofing: Let the shaped dough proof in a floured basket or towel-lined bowl. Cooler proof (in fridge overnight) deepens flavor and slows fermentation.
- Baking with steam: Use a covered Dutch oven to trap steam in your oven. This steam softens the dough surface, allowing it to expand fully before setting the crust.
- Final bake uncovered: Taking off the lid lets the crust brown and crisp up beautifully.
Equipment You’ll Need
- Large mixing bowl – roomy enough to mix and fold the dough without spills.
- Dutch oven with lid – traps steam to create a crispy crust and perfect bake.
- Banneton or proofing basket – helps shape your dough and supports it during the final rise.
- Bread lame or sharp knife – essential for scoring the dough to control how it expands in the oven.
- Kitchen scale – accurate measurements are key for consistent sourdough results.
- Bench scraper – makes handling sticky dough easier and helps clean surfaces.
- Cooling rack – lets your bread cool evenly without sogginess.
Flavor Variations & Add-Ins
- Add 1/2 cup of chopped olives or herbs like rosemary for a fragrant, savory twist.
- Mix in 1/3 cup of toasted nuts or seeds for extra texture and flavor.
- Try replacing 20% of the white flour with whole wheat or rye to deepen the taste and add nutrition.
- Stir in minced garlic or sun-dried tomatoes for bursts of flavor perfect with cheese or spreads.
Best Ever Sourdough Bread Recipe (Step-by-Step)
Ingredients You’ll Need:
- 500g bread flour (or a mix of bread and all-purpose flour)
- 350g water (about 75-80°F or 24-27°C)
- 100g active sourdough starter (fed and bubbly)
- 10g salt
How Much Time Will You Need?
This recipe takes about 5 to 6 hours from start to finish for mixing, fermenting, and baking. You also have an option to slow proof in the fridge overnight for enhanced flavor, which extends the time but requires only a few moments of active work.
Step-by-Step Instructions:
1. Mix the Dough:
In a large bowl, mix the flour and water until no dry bits remain. It will look shaggy. Cover the bowl and let it rest for 30 to 45 minutes—this is called the autolyse stage and helps the flour absorb the water fully.
2. Add Starter and Salt:
Next, add your bubbly sourdough starter and salt to the dough. Stir or fold until everything is evenly combined. This forms a sticky dough that’s ready for fermentation.
3. Bulk Fermentation and Stretch & Folds:
Cover the bowl and let the dough rise at room temperature for about 4 to 5 hours. During the first 2 hours, perform 3 to 4 sets of stretch and folds every 30 minutes. To do this, grab one side of the dough, gently stretch it upward, and fold it over the rest. This strengthens the dough by developing the gluten.
4. Shape the Dough:
Turn the dough onto a lightly floured surface. Shape it into a tight round boule by folding the edges into the center. Flip it seam side down, then cup your hands and pull the dough towards you to tighten the surface tension. This helps the dough hold its shape while baking.
5. Second Rise (Proof):
Place the shaped dough seam side up into a floured banneton or a bowl lined with a floured kitchen towel. Cover and let it proof for 2 to 4 hours at room temperature, or for deeper flavor, refrigerate overnight.
6. Preheat Oven and Baking Vessel:
Put a Dutch oven or heavy, lidded pot into your oven and preheat to 500°F (260°C) for at least 30 minutes. This ensures a hot, steamy environment for the bread to bake.
7. Score and Bake:
Carefully transfer your dough onto parchment paper. Use a sharp knife or bread lame to score the top of the dough—this allows it to expand evenly in the oven. Remove the hot Dutch oven, lift the parchment and dough, and place into the pot. Cover with the lid.
8. First Bake with Lid:
Bake covered at 500°F (260°C) for 20 minutes. The steam trapped inside creates a crisp, shiny crust.
9. Second Bake without Lid:
Remove the lid and reduce oven temperature to 450°F (230°C). Bake for another 20 to 25 minutes until the crust deepens to a beautiful golden brown and feels crisp.
10. Cool the Bread:
Take the bread out of the oven and set it on a wire rack. Let it cool completely for at least an hour before slicing—this helps the crumb finish setting, so your bread is delicious and not gummy.
Enjoy your crusty, tangy, and chewy sourdough loaf fresh from your oven. Perfect with butter, jams, or as a base for sandwiches!
Can I Use Frozen Sourdough Starter for This Recipe?
Yes, you can! Just make sure to fully thaw and feed your frozen starter for a few days until it’s bubbly and active before using it in the dough. This ensures a strong rise and good flavor.
How Do I Store Leftover Sourdough Bread?
Store your sourdough in a paper bag or bread box at room temperature for up to 3 days to keep the crust crisp. For longer storage, slice and freeze the bread in an airtight bag, then toast or warm slices as needed.
Can I Bake This Bread Without a Dutch Oven?
Absolutely! Use a baking stone or heavy baking sheet and place a pan of hot water in the oven to create steam. This helps develop the crust, though results may vary slightly compared to a Dutch oven.
How Do I Know When My Dough Has Proofed Enough?
Perform the “poke test”: gently press your fingertip into the dough about half an inch deep. If it slowly springs back but leaves a slight indentation, it’s ready to bake. If it bounces back quickly, it needs more time; if it doesn’t spring back at all, it’s overproofed.