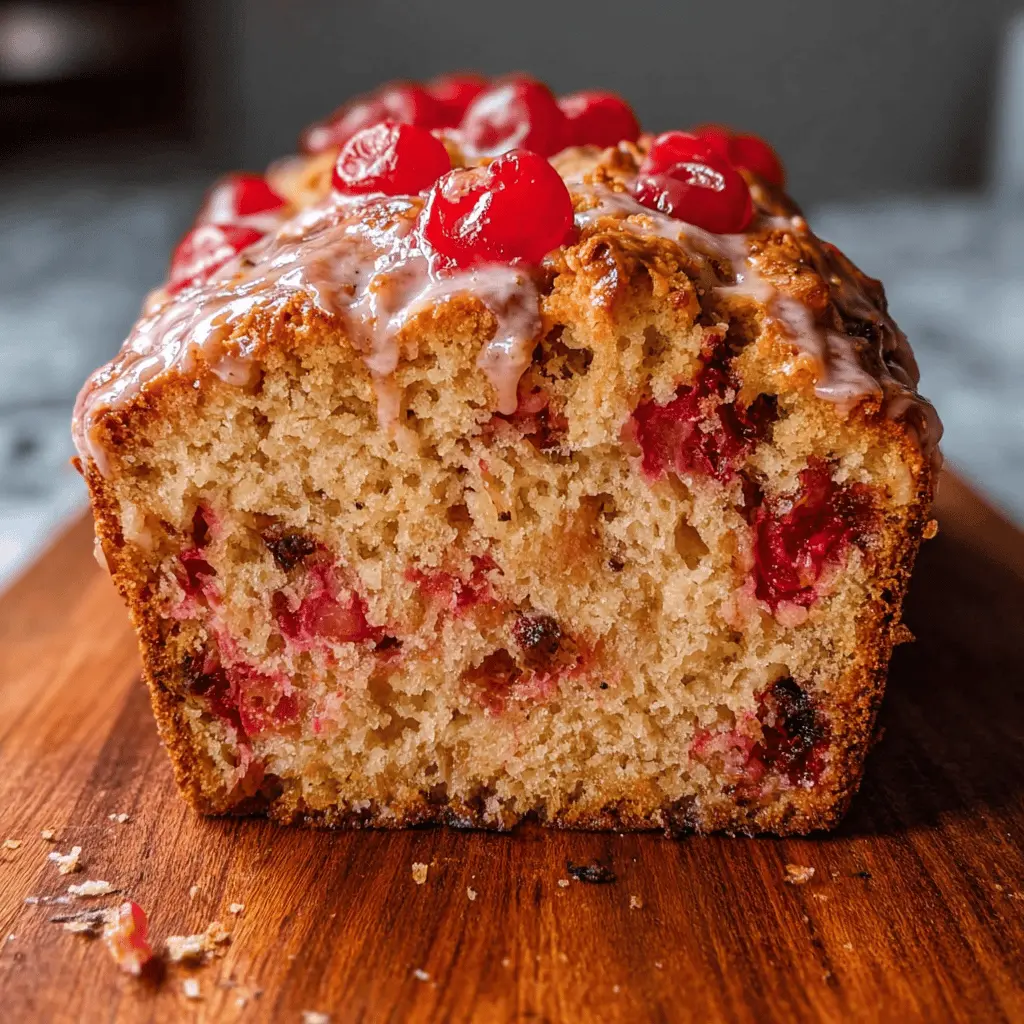
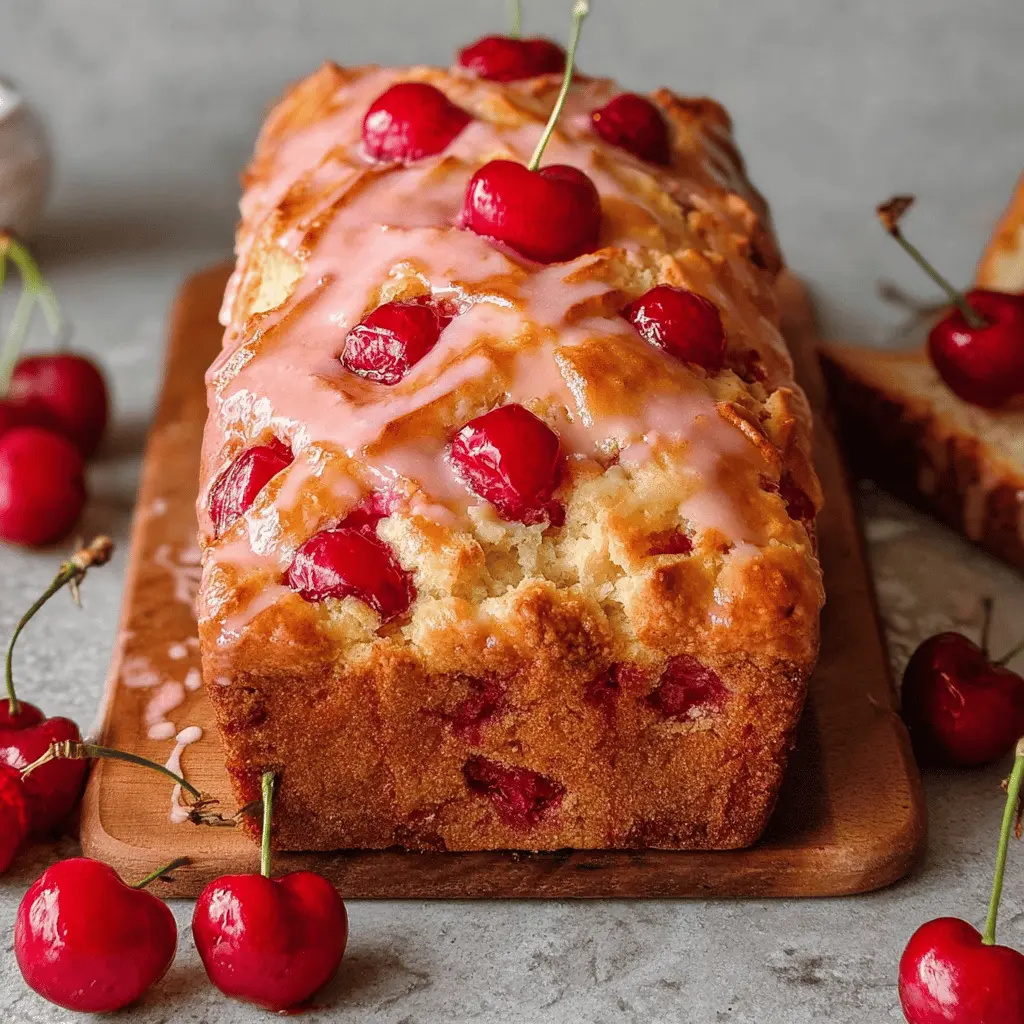
This Easy Classic Cherry Bread is a sweet treat that’s perfect for beginners! With juicy cherries mixed into a soft, fluffy dough, it’s sure to become a favorite.
Baking this bread fills your kitchen with a wonderful smell! I love enjoying a slice warm, maybe with a bit of butter. It’s super simple and oh-so-delicious—you’ll be making it all the time!
Key Ingredients & Substitutions
Flour: All-purpose flour works perfectly for this bread. If you’re looking for gluten-free options, a 1:1 gluten-free flour blend is a great substitute!
Maraschino Cherries: Chopped and drained cherries are key here. In a pinch, you can use fresh cherries, but make sure to pit and chop them first. You could also try dried cherries for a different flavor!
Unsalted Butter: Unsalted butter is preferred as it allows you to control the saltiness. If you’re dairy-free, coconut oil or a plant-based butter are good replacements. Just make sure to melt and cool them before mixing!
Milk: Any milk works! You can easily use almond milk, oat milk, or even sour cream if you want a richer texture.
How Can I Ensure My Cherry Bread Turns Out Perfectly?
One of the most crucial steps for great cherry bread is properly mixing the ingredients. Be careful not to over-mix your batter, as this can make the bread dense rather than fluffy.
- Mix the butter and sugar until it’s light and fluffy—that’s key for good texture.
- When adding the flour and milk, alternate them to help maintain the batter’s lightness. Start and end with the dry ingredients.
- Folding in the cherries gently ensures they’re well-distributed without breaking up too much.
Also, keep an eye on your baking time! Ovens can vary, so start checking around 55 minutes. Once a toothpick comes out clean, it’s ready to cool! Enjoy making this delightful bread!
How to Make Easy Classic Cherry Bread
Ingredients You’ll Need:
For the Bread:
- 2 cups all-purpose flour
- 1 ½ tsp baking powder
- ½ tsp salt
- ½ cup unsalted butter, softened
- 1 cup granulated sugar
- 2 large eggs
- 1 tsp vanilla extract
- ½ cup milk
- 1 ½ cups chopped maraschino cherries (drained and patted dry)
For the Glaze:
- 1 cup powdered sugar
- 2-3 tbsp maraschino cherry juice (or milk, to adjust consistency)
- Optional: additional whole maraschino cherries for garnish
How Much Time Will You Need?
This delightful cherry bread takes about 15 minutes to prepare, plus 55-65 minutes to bake. After baking, let it cool for 10 minutes in the pan and then on a wire rack. Total time from start to finish will be around 1 hour and 30 minutes, including cooling. But trust me, the waiting is worth it!
Step-by-Step Instructions:
1. Preparing the Oven and Pan:
First things first! Preheat your oven to 350°F (175°C). While it warms up, grab a 9×5-inch loaf pan and grease it with butter or cooking spray. Then, dust it lightly with flour. This will help your bread pop right out later!
2. Mixing Dry Ingredients:
In a medium bowl, whisk together the all-purpose flour, baking powder, and salt. Give it a good stir to make sure everything is combined. Set this bowl aside for now while we work on the wet ingredients.
3. Creaming Butter and Sugar:
In a large bowl, cream the softened butter and sugar together using a hand mixer or stand mixer. Mix until the mixture is light and fluffy. This is essential for creating a soft and tender bread!
4. Adding Eggs and Vanilla:
Next, add the eggs one at a time, mixing after each addition until fully incorporated. Then add the vanilla extract and mix until smooth. Your batter should be looking tasty already!
5. Combining Wet and Dry Ingredients:
Now, we’ll bring it all together! Alternately add the flour mixture and milk to your wet ingredients. Start by adding a little of the dry mixture, then pour in some milk, and repeat until all is combined. Be careful not to over-mix; a few lumps are perfectly normal!
6. Folding in the Cherries:
Gently fold in the chopped maraschino cherries. This part is fun! Make sure they’re evenly distributed throughout the batter, so you get a burst of cherry flavor in every slice.
7. Pouring into the Pan:
Pour the cherry batter into the prepared loaf pan. Use a spatula to smooth the top so it looks lovely and ready for the oven.
8. Baking the Bread:
Place the pan in the oven and bake for 55-65 minutes. Check if it’s done by inserting a toothpick into the center—if it comes out clean, your bread is ready!
9. Cooling Time:
Once it’s baked, take it out of the oven and let it cool in the pan for about 10 minutes. Then, turn it out onto a wire rack to cool completely. This step is important so it doesn’t get soggy.
10. Making the Glaze:
While the bread is cooling, prepare the glaze! In a small bowl, whisk the powdered sugar with cherry juice (or milk) until smooth. Adjust the consistency with more juice or milk if needed until it’s pourable but not too runny.
11. Adding the Finishing Touch:
Once the bread is completely cool, drizzle the glaze over the top. If you like, you can then garnish it with whole maraschino cherries for an extra pop of color!
12. Slice and Serve:
Now, it’s time to slice the bread and serve! Enjoy this sweet, cherry-studded classic bread as a snack, breakfast, or dessert. Happy baking!
FAQ for Easy Classic Cherry Bread
Can I Use Fresh Cherries Instead of Maraschino Cherries?
Yes, you can! Just make sure to pit and chop the fresh cherries before adding them to the batter. You may want to adjust the sugar slightly, as fresh cherries are less sweet than maraschino cherries.
How Can I Store Leftover Cherry Bread?
Store any leftover cherry bread in an airtight container at room temperature for up to 3 days. If you want it to last longer, you can refrigerate it for up to a week, or freeze it for up to 3 months. Just ensure it’s well-wrapped to prevent freezer burn!
Can I Use a Different Type of Milk in This Recipe?
Absolutely! You can substitute whole milk with almond milk, soy milk, or oat milk without affecting the taste significantly. Just make sure the alternative milk is unsweetened to keep the sweetness balanced.
What Should I Do If the Bread is Sinking in the Middle?
If your bread is sinking, it could be due to over-mixing or under-baking. Be gentle when combining ingredients, and make sure to bake until a toothpick comes out clean. If it does sink, try reducing the baking powder slightly next time to avoid excess rise!