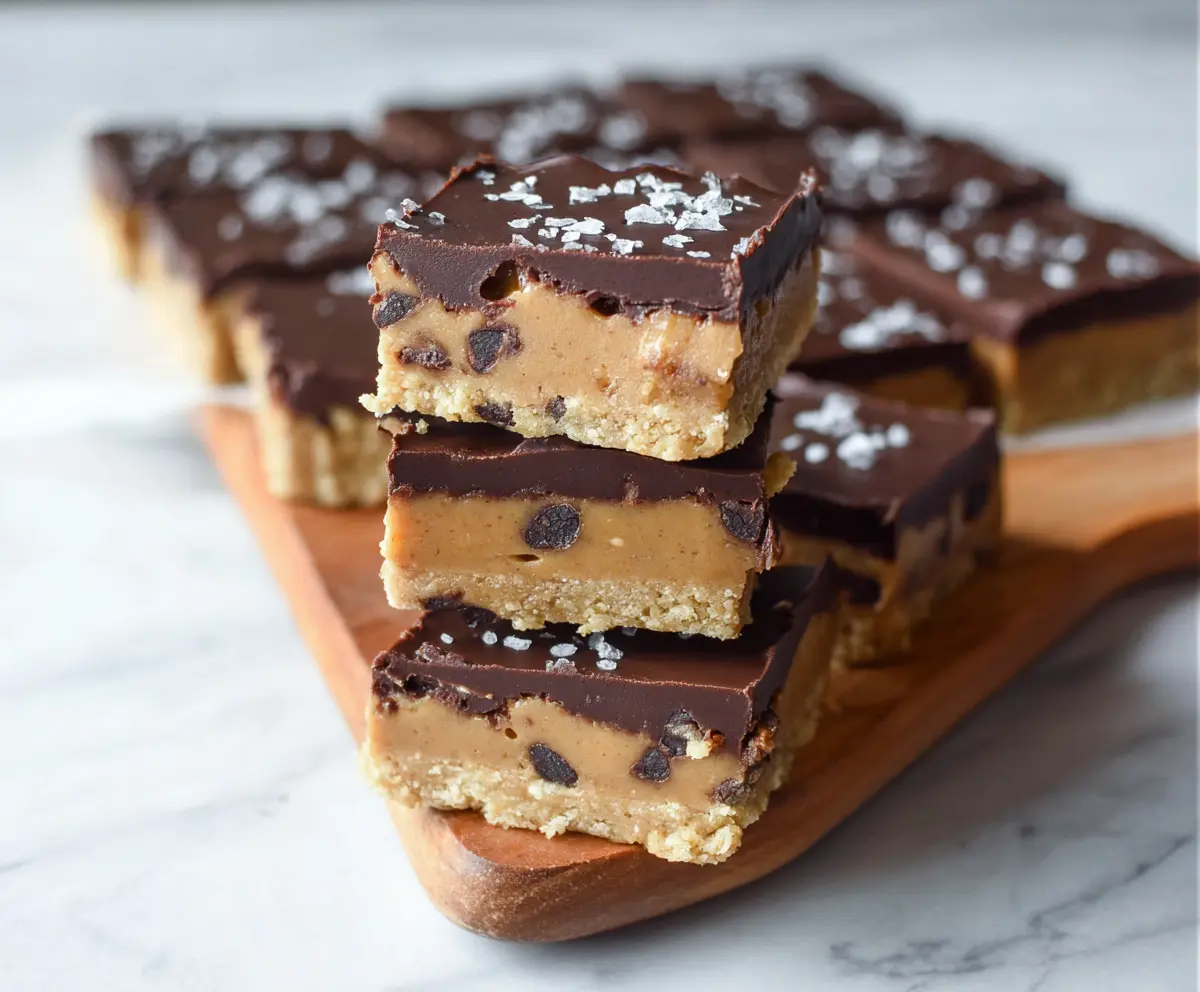
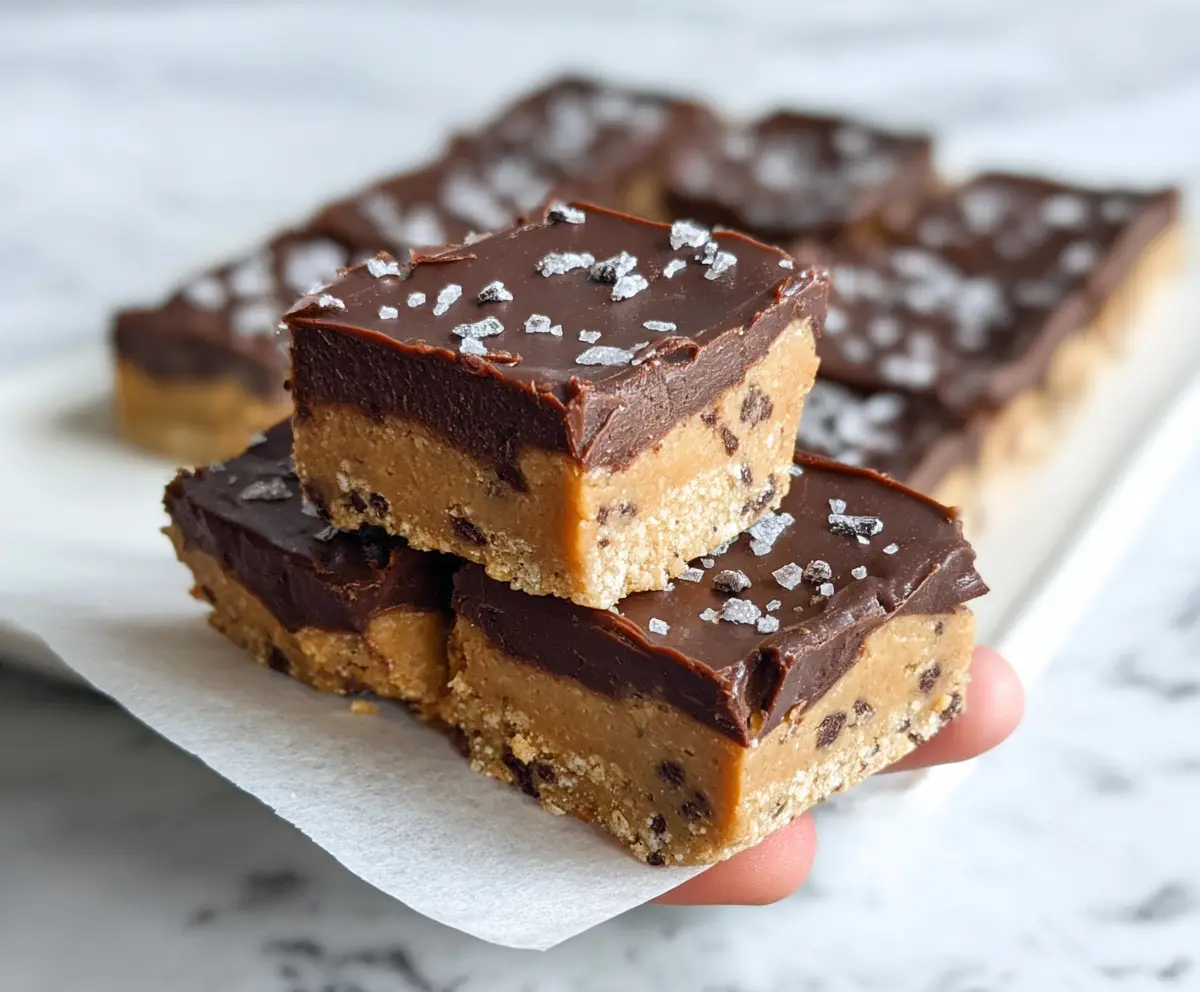
These Healthy No Bake Cookie Dough Bars are a delicious and guilt-free treat that tastes just like classic cookie dough! Made with wholesome ingredients, they’re gluten-free and vegan, so everyone can enjoy them. The bars have a soft, chewy texture with little chocolate chips that add the perfect sweet crunch.
I love that these bars come together so quickly without needing an oven at all. It’s my go-to when I want a tasty snack but don’t have much time or energy to bake. Plus, knowing they’re made from natural ingredients makes me feel good about sharing them with my family and friends.
My favorite way to enjoy these bars is straight from the fridge after they’ve had time to set nice and firm. They’re perfect for an afternoon pick-me-up or a simple dessert. If you want, you can even customize them with your favorite nuts or extra chocolate chips for a little twist!
Key Ingredients & Substitutions
Gluten-Free Rolled Oats: Ground into flour, these oats create a soft, chewy crust. If you don’t have oats, you can use gluten-free all-purpose flour instead.
Cashews: Soaked cashews blend into a creamy base for the cookie dough layer. If you’re nut-free, try sunflower seeds soaked the same way.
Coconut Oil: It melts smoothly, helping bind and set the bars. You can swap it for vegan butter if preferred.
Maple Syrup: A natural sweetener that keeps the bars moist. Agave nectar or brown rice syrup work well as alternatives.
Dairy-Free Chocolate Chips: These add rich flavor and texture. Look for soy-free or nut-free versions if you have allergies.
How Can I Get Perfectly Firm No Bake Bars Without Cracking?
Setting these bars firmly depends on proper chilling and layering:
- Press the crust evenly into the pan to form a stable base.
- Blend the cookie dough mixture until completely smooth before folding in chocolate chips.
- Spread each layer gently but firmly; avoid overloading or uneven surfaces.
- Chill the bars in the freezer for at least 2 hours to harden the layers fully.
- Use parchment paper to lift bars out easily, which helps prevent breaking when cutting.
Following these steps helps you get neat, sturdy bars that hold together well and look great.
Equipment You’ll Need
- Food processor or high-speed blender – makes the cashew cookie dough smooth and creamy without lumps.
- 8×8 inch baking pan – a perfect size for shaping the bars evenly and easy to remove with parchment.
- Parchment paper – lines the pan so bars come out cleanly without sticking.
- Microwave-safe bowl or double boiler – melts the chocolate gently for a smooth topping.
- Spatula – helps spread layers evenly and scrape all the mixture from your bowl.
Flavor Variations & Add-Ins
- Swap almond butter for peanut butter – adds a stronger nutty flavor that pairs nicely with chocolate.
- Add chopped nuts like walnuts or pecans to the dough – gives a nice crunch and extra texture.
- Mix in dried fruit like chopped dates or cranberries – adds chewiness and natural sweetness.
- Use dark chocolate with espresso powder in the topping – for a mocha twist that’s rich and bold.
Healthy No Bake Cookie Dough Bars (Gluten-Free, Vegan)
Ingredients You’ll Need:
For the Crust:
- 1 cup gluten-free rolled oats, ground into flour
- ½ cup almond flour (or other nut flour)
- ¼ cup coconut oil, melted
- 3 tbsp maple syrup or agave nectar
- Pinch of salt
For the Cookie Dough Layer:
- 1 cup raw cashews, soaked for 2 hours and drained
- 2 tbsp coconut oil, melted
- ¼ cup almond butter or peanut butter
- ¼ cup maple syrup or agave nectar
- 1 tsp vanilla extract
- ¼ tsp salt
- ¼ cup dairy-free mini chocolate chips
For the Chocolate Topping:
- ½ cup dairy-free chocolate chips
- 1 tbsp coconut oil
- Flaky sea salt for garnish
How Much Time Will You Need?
This recipe takes about 15 minutes of active preparation. Then you’ll chill the bars in the freezer for at least 2 hours so they become firm and easy to cut. Overall, plan for about 2 hours and 15 minutes total from start to finish, with most of that time spent chilling.
Step-by-Step Instructions:
1. Prepare the Pan and Crust:
Line an 8×8 inch pan with parchment paper, leaving extra to lift the bars out easily later. In a bowl, mix ground oat flour, almond flour, melted coconut oil, maple syrup, and a pinch of salt until crumbly dough forms. Press this crust mixture firmly and evenly into the bottom of the pan. Place the pan in the freezer while you prepare the next layer.
2. Make the Cookie Dough Layer:
In a food processor or high-speed blender, blend the soaked cashews, melted coconut oil, almond butter, maple syrup, vanilla extract, and salt until very smooth and creamy. Stop to scrape down the sides as needed. Gently fold in the dairy-free mini chocolate chips by hand. Spread this cookie dough layer evenly over the chilled crust, then return the pan to the freezer.
3. Add the Chocolate Topping and Chill:
In a microwave-safe bowl or over a double boiler, melt the dairy-free chocolate chips with coconut oil, stirring till smooth. Pour this melted chocolate evenly over the cookie dough layer and smooth the top with a spatula. Sprinkle flaky sea salt over the chocolate. Return the pan to the freezer to set for at least 2 hours.
4. Serve and Store:
Lift the bars out of the pan using the parchment paper edges. Cut into squares with a sharp knife. Keep the bars refrigerated until ready to serve for the best texture.
Can I Use Unsalted Nuts Instead of Soaked Cashews?
Yes! Just make sure to soak them for at least 2 hours to soften, which helps create that creamy cookie dough texture. If you don’t soak, the filling might be grainy or harder to blend smoothly.
Can I Make These Bars Ahead of Time?
Absolutely! These bars keep well in the fridge for up to 5 days and can also be frozen for up to 2 months. Just thaw in the fridge before serving to keep their perfect chewy texture.
What Can I Use If I Don’t Have Coconut Oil?
You can substitute melted vegan butter or another neutral oil like avocado oil. Just keep in mind that coconut oil helps the bars set firmly when chilled, so the texture may be a bit softer with substitutes.
How Do I Prevent the Chocolate from Melting Too Soft?
Make sure to melt the chocolate gently using low heat or short bursts in the microwave. After pouring it on, chill the bars thoroughly in the freezer for at least 2 hours to allow the topping to harden properly.