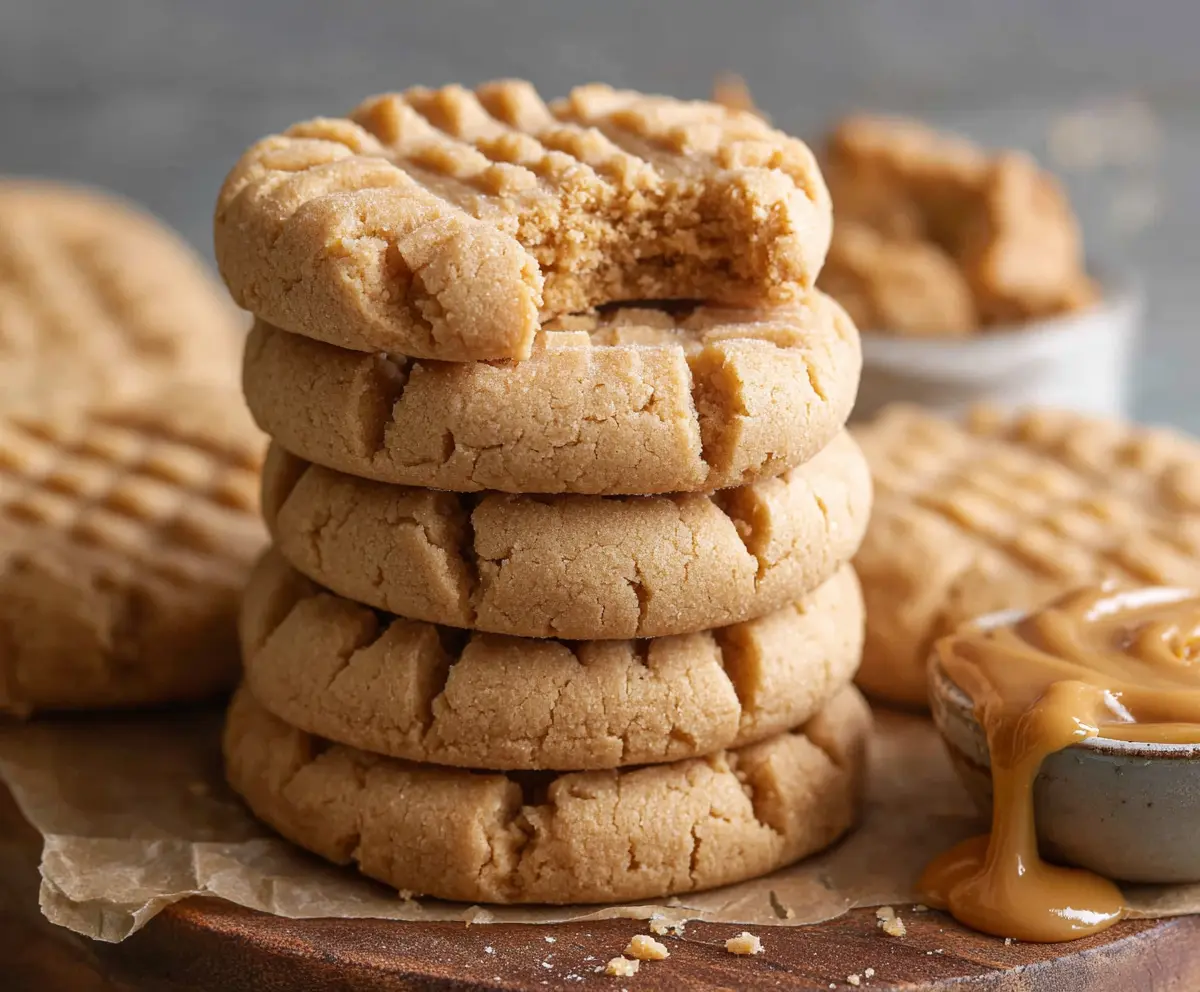
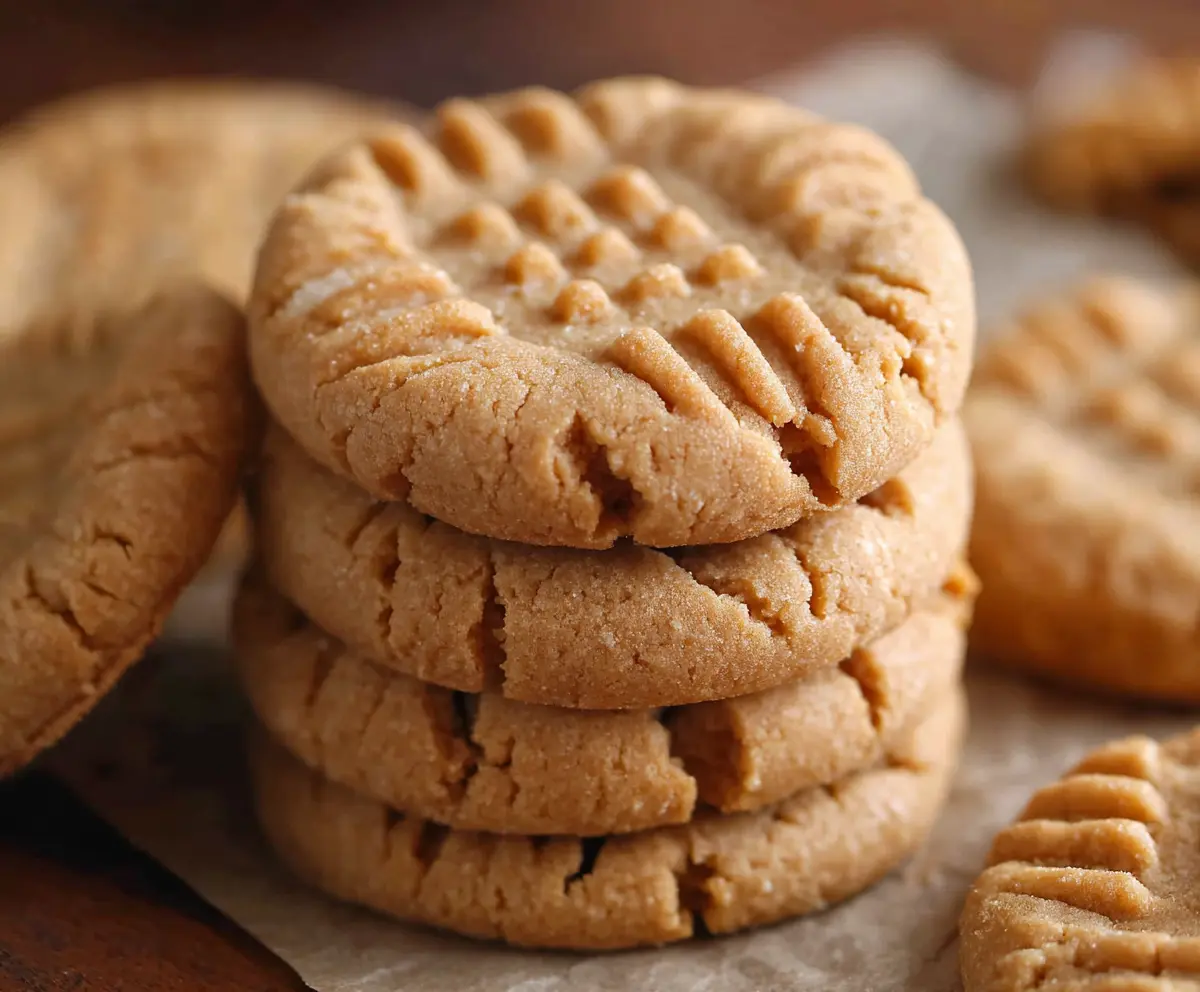
Peanut butter cookies are a classic treat that everyone seems to love. They’re soft, chewy, and packed with that rich, nutty peanut butter flavor you can’t get enough of. The little crisscross fork marks on top give them that homemade look that makes them even more inviting.
I really enjoy making these cookies because they come together quickly with simple ingredients, and the smell that fills the kitchen while they bake is just amazing. I often sneak a warm cookie right out of the oven before they’ve even cooled down—they’re that good!
One of my favorite ways to enjoy peanut butter cookies is with a cold glass of milk or even served alongside a scoop of vanilla ice cream for a sweet and satisfying dessert. They’re perfect for sharing with friends and family, or just keeping a batch handy for whenever a little peanut butter cookie craving hits.
Key Ingredients & Substitutions
Peanut Butter: Creamy peanut butter works best for smooth cookies, but using chunky adds a fun crunch with little nut pieces. If allergic or avoiding peanuts, try almond or sunflower seed butter as a tasty alternative.
Sugar: Granulated sugar gives the cookies a classic texture. You can swap half with brown sugar for a softer, chewier cookie and a hint of caramel flavor.
Egg: The egg helps bind everything together and adds moisture. For a vegan option, try a flax egg (1 tbsp flaxseed meal + 3 tbsp water) but note the texture might differ slightly.
Baking Soda: This helps the cookies rise and spread properly. Don’t skip it, as it affects the texture and lightness.
Vanilla Extract: Optional but highly recommended! It boosts flavor and balances the peanut butter’s natural richness nicely.
How Can I Get That Perfect Crisscross Pattern on Peanut Butter Cookies?
That fork mark is a signature look for peanut butter cookies. Here’s a quick way to get it just right:
- After rolling each dough ball, press it down gently with a fork to flatten it slightly.
- Press the fork down once, then turn it 90 degrees and press again to create a crisscross pattern.
- Don’t press too hard or the cookies will spread too much; a gentle press is enough.
- This step also helps the cookies bake evenly and prevents them from puffing up too much.
Practicing on one or two cookies first can help you find just the right pressure for a pretty, classic look every time!
Equipment You’ll Need
- Baking sheet – gives your cookies a flat surface to bake evenly.
- Parchment paper or silicone baking mat – stops cookies from sticking and makes clean-up easy.
- Mixing bowl – big enough to combine your ingredients comfortably.
- Spoon or cookie scoop – helps you portion dough evenly for uniform cookies.
- Fork – for pressing the classic crisscross pattern on top of each cookie.
- Wire rack – lets cookies cool properly and stay crisp on the outside.
Flavor Variations & Add-Ins
- Add chocolate chips or chunks – they melt into the cookies and add a rich, sweet contrast to peanut butter.
- Stir in chopped peanuts – for extra crunch and an even stronger peanut taste.
- Mix in a pinch of cinnamon or nutmeg – adds warmth and a bit of spice to classic cookies.
- Use almond or cashew butter instead of peanut butter – great for different nut flavors or if you have a peanut allergy.
Classic Peanut Butter Cookies
Ingredients You’ll Need:
- 1 cup peanut butter (creamy or chunky)
- 1 cup granulated sugar
- 1 large egg
- 1 teaspoon baking soda
- ½ teaspoon vanilla extract (optional)
- Pinch of salt (if your peanut butter is unsalted)
How Much Time Will You Need?
This recipe is quick and simple! It takes about 10 minutes to prepare the dough and around 10-12 minutes to bake. Add a few minutes for cooling, so in total, expect about 25 minutes from start to finish.
Step-by-Step Instructions:
1. Prepare Your Oven and Pan:
Preheat the oven to 350°F (175°C). Line a baking sheet with parchment paper or a silicone baking mat to prevent sticking and make cleanup easy.
2. Mix the Dough:
In a mixing bowl, combine the peanut butter, sugar, egg, baking soda, and vanilla extract if you’re using it. Stir everything together until the mixture is smooth and well blended.
3. Shape the Cookies:
Scoop out tablespoon-sized portions of the dough and roll each into a ball. Place these balls on the prepared baking sheet, spacing them out evenly so they have room to spread as they bake.
4. Make the Classic Crisscross Pattern:
Using a fork, gently press down on each dough ball to flatten it just a bit. Then, press the fork in the opposite direction to create the beloved crisscross marks on top.
5. Bake the Cookies:
Put the baking sheet in the oven and bake for 10 to 12 minutes. The cookies should be set on the edges and just beginning to turn golden brown.
6. Cool and Serve:
Take the cookies out of the oven and let them cool on the baking sheet for about 5 minutes. Then transfer them to a wire rack to cool completely. Enjoy your peanut butter cookies fresh, maybe with a glass of milk or your favorite drink!
Can I Use Natural Peanut Butter Instead of Regular Peanut Butter?
Yes, you can! Just make sure to stir it well before measuring, as natural peanut butter tends to separate. Using natural peanut butter might make the cookies slightly softer.
How Should I Store Leftover Peanut Butter Cookies?
Store them in an airtight container at room temperature for up to 5 days. If you want to keep them longer, freeze the cookies in a sealed container for up to 3 months and thaw at room temperature before eating.
Can I Make These Cookies Gluten-Free?
Absolutely! This recipe is naturally gluten-free since it doesn’t call for flour. Just double-check that your baking soda and peanut butter are gluten-free to avoid any cross-contamination.
What Can I Do If My Cookies Spread Too Much?
If your cookies spread too much in the oven, chill the dough in the fridge for 30 minutes before baking. Also, avoid pressing the dough balls too flat when making the crisscross pattern.