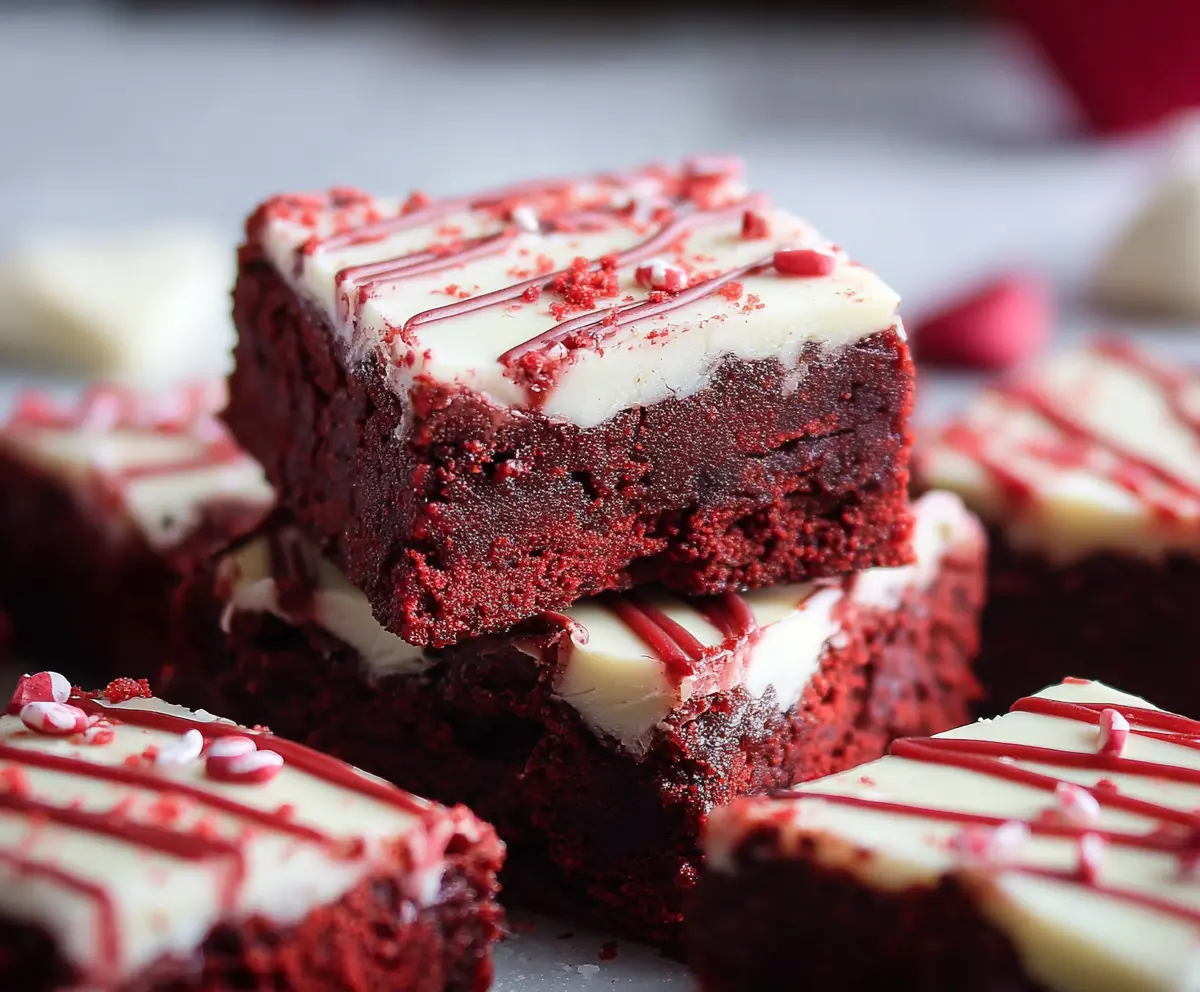
The Best Fudgy Red Velvet Brownies are a perfect treat if you love rich, chocolatey goodness with a hint of tangy cocoa and that classic red velvet flair. These brownies are dense and fudgy with a beautiful red hue that makes them stand out on any dessert table—especially for Valentine’s Day or any time you want to make something a little extra special.
I love making these brownies because they combine the best parts of a brownie and a red velvet cake into one delicious bite. The texture is so soft and chewy, and the slight cream cheese swirl on top adds a creamy touch that balances the sweetness just right. Whenever I bake these, I like to share them with friends and family because they always get so excited to try a dessert that looks as good as it tastes.
My favorite way to serve these brownies is slightly warmed with a scoop of vanilla ice cream on the side or just plain with a cup of hot coffee. They also make a cute homemade gift when wrapped up nicely, perfect for showing someone you care without too much fuss. I’m pretty sure once you make these, they’ll become your go-to brownie recipe too!
Key Ingredients & Substitutions
Butter: Unsalted butter is great for a balanced flavor and controlled saltiness. If you want a dairy-free option, try coconut oil, but expect a slight taste change.
Cocoa Powder: Unsweetened cocoa adds that subtle chocolate flavor. Dutch-processed cocoa works well too but may change the red color slightly.
Red Food Coloring: This creates the signature red velvet look. Gel food coloring is stronger and less watery than liquid, so I prefer it for a vibrant color without thinning the batter.
All-Purpose Flour: Standard flour gives the brownies structure. For a gluten-free alternative, use a best-for-baking gluten-free flour blend.
Cream Cheese: The cream cheese frosting balances sweetness and adds creaminess. Make sure it’s softened to avoid lumps. You can swap for a vegan cream cheese if needed.
How Can I Make Fudgy Brownies Without Overbaking?
Fudgy brownies come down to baking time and checking their doneness carefully. Here is what I follow:
- Set your timer for 20 minutes first. Use an oven thermometer if your oven’s temperature seems off.
- Insert a toothpick or skewer in the center. It should come out with moist crumbs, not clean or gooey batter.
- If there’s wet batter, bake another 2-3 minutes and test again.
- Overbaking dries out the brownies and makes them cakey, so watch closely near the end.
- Once out of the oven, leave brownies in the pan to cool before frosting; this helps them set and stay fudgy inside.
Equipment You’ll Need
- 8×8 inch (20×20 cm) square baking pan – perfect size for even baking and easy slicing.
- Parchment paper – helps you lift brownies out smoothly without sticking or breaking.
- Mixing bowls – at least two; one for wet ingredients and one for dry to keep things tidy.
- Hand mixer or whisk – makes mixing cream cheese frosting quick and smooth.
- Spatula – great for folding ingredients gently and spreading frosting evenly.
- Toothpick or skewer – handy for testing brownie doneness without cutting them open.
Flavor Variations & Add-Ins
- Swap cream cheese frosting for chocolate ganache for a richer, chocolate-focused treat.
- Add chopped walnuts or pecans for a crunchy texture contrast inside the fudgy brownies.
- Mix in white chocolate chips to balance the cocoa’s slight bitterness with creamy sweetness.
- Use beet juice instead of red food coloring for a natural color and subtle earthy sweetness.
The Best Fudgy Red Velvet Brownies Recipe
Ingredients You’ll Need:
For the Brownies:
- 1/2 cup (115g) unsalted butter
- 1 cup (200g) granulated sugar
- 2 large eggs
- 1 teaspoon vanilla extract
- 1 tablespoon red food coloring
- 1/4 cup (30g) unsweetened cocoa powder
- 3/4 cup (95g) all-purpose flour
- 1/4 teaspoon salt
- 1/2 teaspoon baking powder
For the Cream Cheese Frosting:
- 8 oz (226g) cream cheese, softened
- 1/4 cup (60g) unsalted butter, softened
- 1 1/2 cups (180g) powdered sugar, sifted
- 1 teaspoon vanilla extract
For Decoration:
- Red velvet cake crumbs or sprinkles
- Melted red chocolate or red candy melts (for drizzling)
How Much Time Will You Need?
This recipe takes about 10 minutes to prepare, 20-25 minutes to bake, plus 30 minutes chilling time to set the frosting. In total, expect about 1 hour from start to finish for delicious, fudgy brownies!
Step-by-Step Instructions:
1. Prepare the Pan and Oven
Preheat your oven to 350°F (175°C). Grease an 8×8 inch (20×20 cm) square baking pan or line it with parchment paper, leaving some overhang for easy brownie removal.
2. Make the Brownie Batter
In a medium saucepan, melt the butter over low heat. Remove from heat and stir in the sugar until combined. Whisk in the eggs one at a time, then add vanilla extract and red food coloring. Mix well. In a separate bowl, sift together the cocoa powder, flour, salt, and baking powder. Gradually fold the dry ingredients into the wet mixture until just combined—avoid overmixing.
3. Bake the Brownies
Pour the batter evenly into the prepared pan. Bake for 20-25 minutes, or until a toothpick inserted in the center comes out with moist crumbs (not wet batter). This ensures the brownies stay nice and fudgy. Let the brownies cool completely in the pan on a wire rack before frosting.
4. Make the Cream Cheese Frosting
While brownies bake, beat together softened cream cheese and butter until smooth. Gradually add powdered sugar and vanilla extract, beating until creamy and spreadable.
5. Frost and Decorate
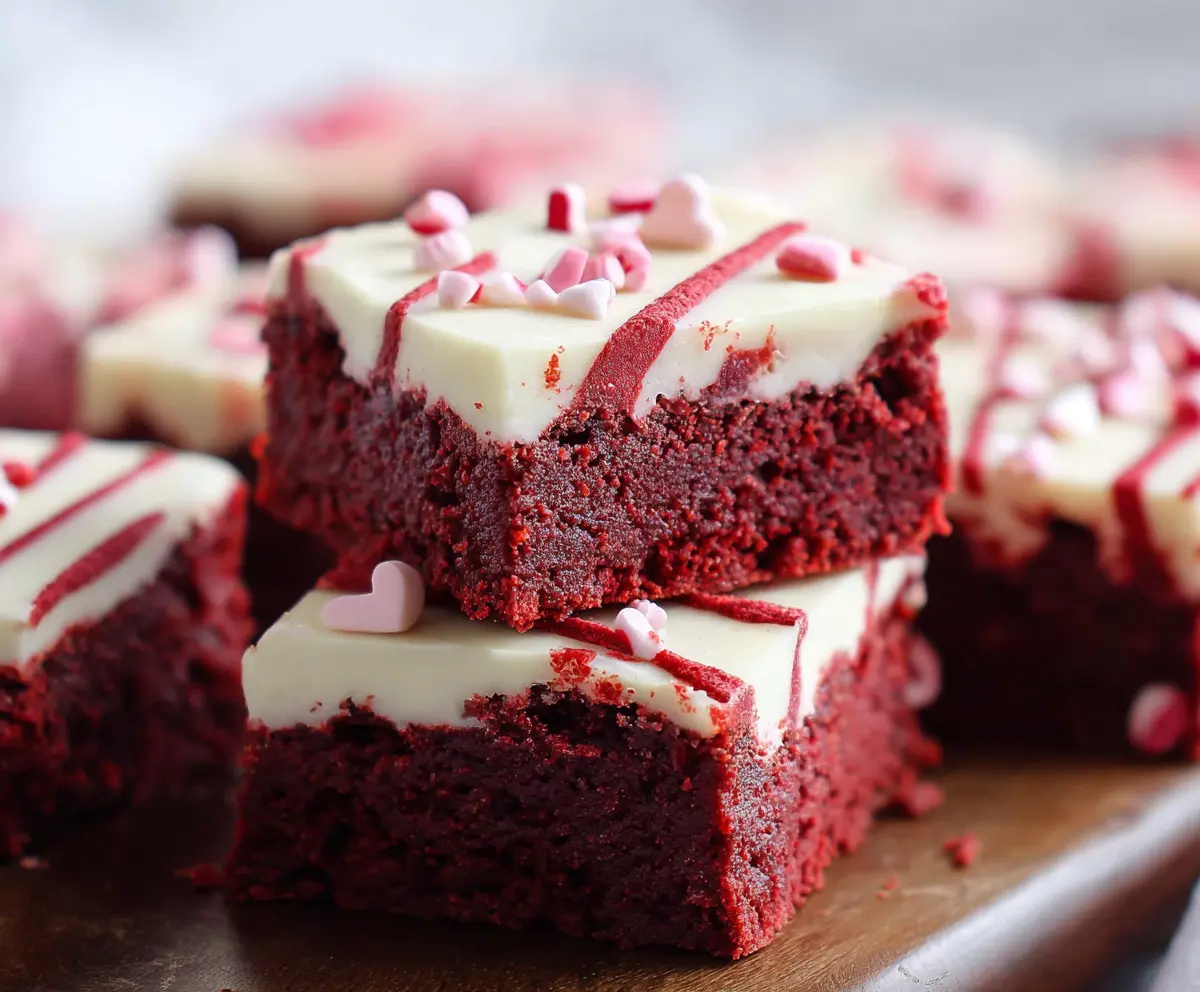
Spread the cream cheese frosting evenly over the cooled brownies. Sprinkle with red velvet cake crumbs or sprinkles for a pretty finish. Drizzle melted red chocolate or red candy melts on top for an extra festive look.
6. Chill and Serve
Place the frosted brownies in the refrigerator for at least 30 minutes to allow the frosting to set. Once chilled, slice into squares and enjoy your rich, fudgy, and creamy red velvet brownies – perfect for Valentine’s Day or any special occasion!
Can I Use Any Type of Red Food Coloring?
Yes! You can use liquid or gel red food coloring. Gel is more concentrated, so use a little less to avoid thinning the batter.
Can I Make These Brownies Ahead of Time?
Absolutely! Bake and frost the brownies, then store them covered in the fridge for up to 3 days. Bring to room temperature before serving for the best texture.
How Should I Store Leftovers?
Keep leftover brownies in an airtight container in the refrigerator for up to 4 days. For longer storage, wrap tightly and freeze for up to 3 months.
What If I Don’t Have Cream Cheese for Frosting?
You can swap cream cheese for mascarpone or Greek yogurt-based frosting for a tangy twist, or even top brownies with a simple dusting of powdered sugar if you prefer.