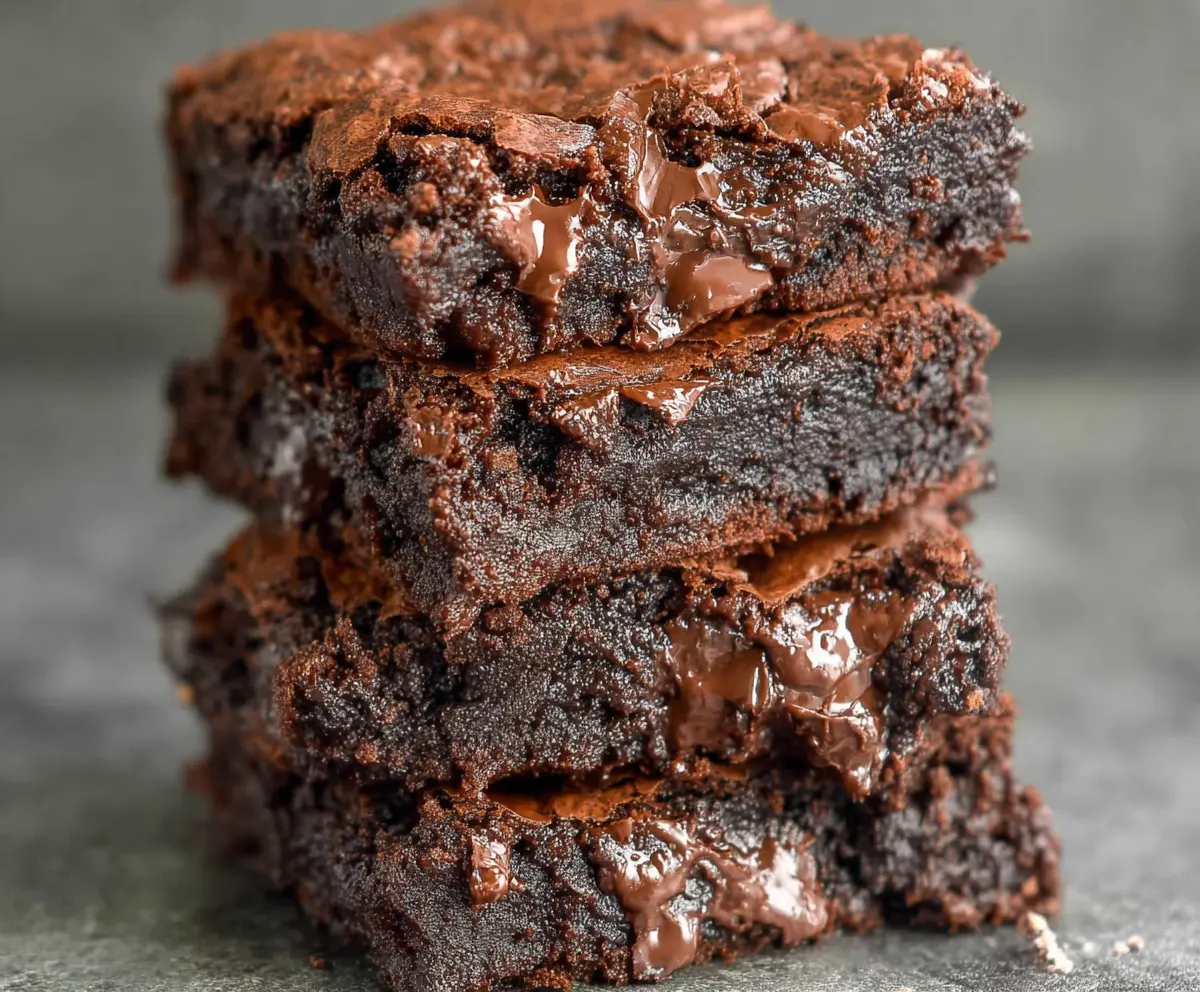
These Low Calorie Greek Yogurt Brownies are a delightful treat that’s rich, chocolaty, and surprisingly light. They use creamy Greek yogurt to keep the brownies moist without loading them up with extra butter or oil. You still get that classic fudgy texture and deep chocolate flavor, but with fewer guilt feelings.
I love making these brownies when I want something sweet but don’t want to feel slow or heavy afterward. The Greek yogurt gives them a nice tang and keeps them soft, which is different from the denser brownies I’m used to—but in a really good way. Plus, they’re super easy to whip up, so I often find myself baking a batch just for an afternoon pick-me-up.
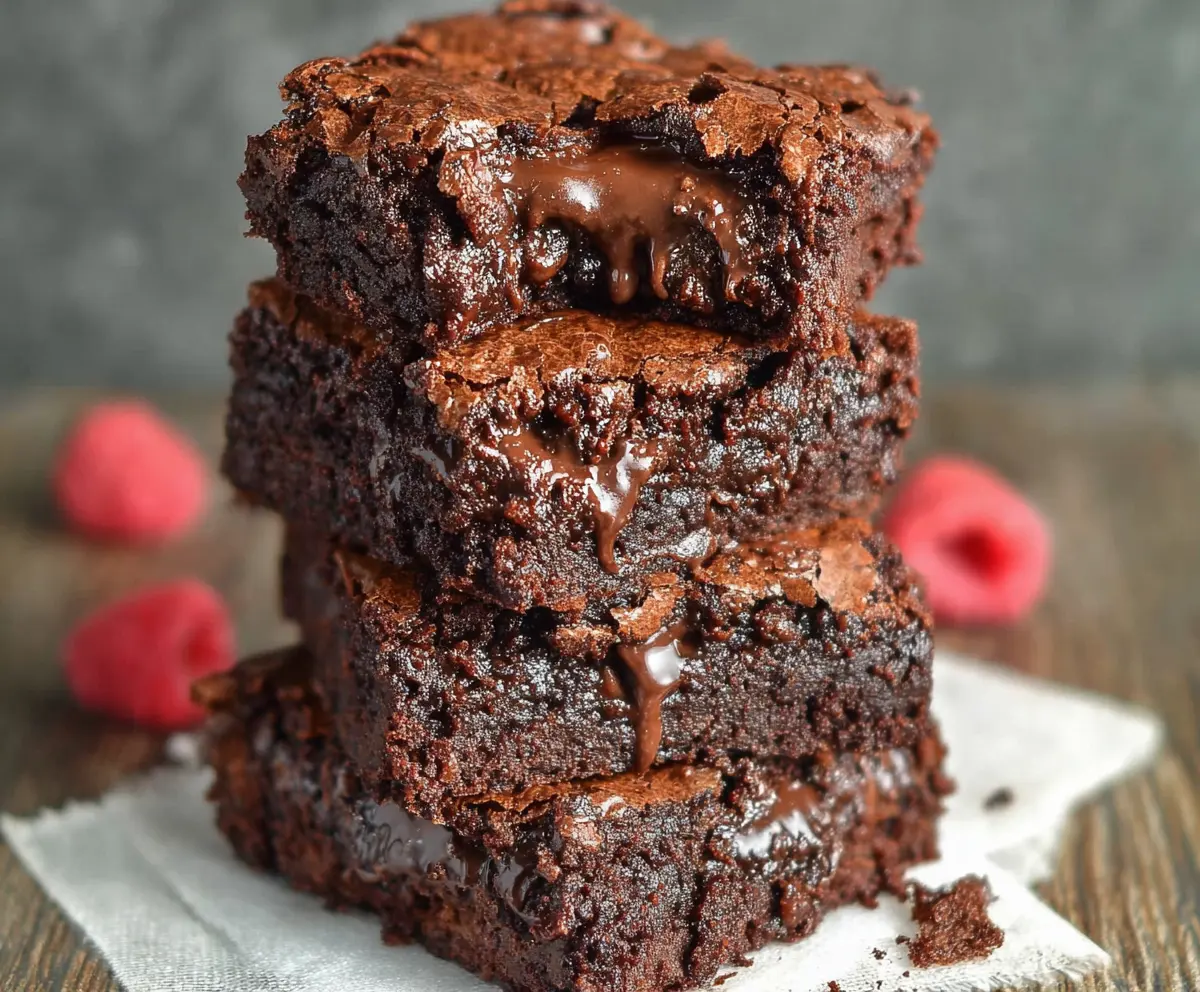
My favorite way to enjoy these brownies is with a cup of coffee or tea, maybe topped with a little fresh fruit or a small dollop of whipped cream. They’re perfect for sharing with friends or sneaking a treat after a long day. These brownies prove you don’t have to give up flavor or texture to keep things lighter, and I think that’s pretty awesome.
Key Ingredients & Substitutions
Greek yogurt: This is the star of the recipe! It keeps the brownies moist without added fat. Use nonfat or low-fat plain Greek yogurt. If you don’t have Greek yogurt, try plain regular yogurt, but it might be less thick.
Cocoa powder: Unsweetened cocoa powder gives deep chocolate flavor. Dutch-processed cocoa works too, but adjust baking powder since it changes acidity slightly.
Applesauce: This replaces some fat and adds natural sweetness. You can swap with mashed banana, but it can add noticeable flavor. Keep it unsweetened to control sugar.
Chocolate chips: Dark chocolate chips add richness. Use semisweet if you like sweeter brownies. You can reduce chips for fewer calories, but they add to texture and taste.
How to Get Fudgy Brownies Without Overbaking?
Brownies can dry out if baked too long, so timing and testing are key.
- Use an oven thermometer to keep correct temperature (350°F/175°C).
- Start checking at 20 minutes. Insert a toothpick in the center. It should come out with moist crumbs, not clean or wet batter.
- Avoid overmixing the batter; stir just until ingredients combine to keep brownies tender.
- Let brownies cool for 15 minutes before cutting. This helps them set and keeps them fudgy.
Equipment You’ll Need
- 8×8-inch baking pan – the perfect size for evenly baked brownies with nice thickness.
- Mixing bowls – one for dry ingredients and one for wet; keeps things organized and easy to mix.
- Whisk – helps blend the wet ingredients smoothly without lumps.
- Rubber spatula – great for folding in chocolate chips gently without overmixing.
- Measuring cups and spoons – for accurate ingredient amounts so your brownies turn out just right.
Flavor Variations & Add-Ins
- Add a teaspoon of instant coffee powder to the batter to deepen the chocolate flavor without a strong coffee taste.
- Swap half the all-purpose flour for almond flour to add a slight nuttiness and extra moisture.
- Stir in chopped walnuts or pecans for some crunch and texture contrast.
- Mix in a handful of frozen raspberries for a fresh, fruity twist that pairs well with chocolate.
How to Make Low Calorie Greek Yogurt Brownies?
Ingredients You’ll Need:
- 1 cup all-purpose flour
- 1/4 cup unsweetened cocoa powder
- 1/2 tsp baking powder
- 1/4 tsp salt
- 1/3 cup granulated sugar (or a low-calorie sweetener equivalent)
- 1/2 cup nonfat Greek yogurt
- 1 large egg
- 1 tsp vanilla extract
- 1/4 cup unsweetened applesauce
- 1/2 cup dark chocolate chips (preferably 60-70% cocoa)
How Much Time Will You Need?
This recipe takes about 10 minutes of prep time and 20-25 minutes in the oven. After baking, allow the brownies to cool for about 15 minutes before cutting and serving.
Step-by-Step Instructions:
1. Prepare Your Pan and Oven:
Preheat your oven to 350°F (175°C). Lightly grease an 8×8-inch baking pan or line it with parchment paper to prevent sticking.
2. Mix Dry Ingredients:
In a mixing bowl, sift together the all-purpose flour, unsweetened cocoa powder, baking powder, and salt. This ensures everything is well combined and smooth.
3. Mix Wet Ingredients:
In a separate bowl, whisk together the Greek yogurt, egg, vanilla extract, unsweetened applesauce, and granulated sugar until the mixture is smooth and well blended.
4. Combine Wet and Dry Ingredients:
Gradually add the dry ingredients to the wet ingredients. Stir gently until just combined—be careful not to overmix, which can make the brownies tough.
5. Add Chocolate Chips:
Fold half of the dark chocolate chips into the batter gently. Then pour the batter into your prepared baking pan and spread it evenly. Sprinkle the remaining chocolate chips on top for a melty, chocolaty finish.
6. Bake and Cool:
Bake for 20-25 minutes, or until a toothpick inserted in the center comes out with a few moist crumbs (not wet batter). Once baked, let the brownies cool in the pan for at least 15 minutes before slicing into squares.
7. Serve and Enjoy:
Enjoy these rich, fudgy brownies that are healthier thanks to the moisture from Greek yogurt and applesauce but still full of chocolatey goodness!
Can I Use Frozen Greek Yogurt for These Brownies?
It’s best to use fresh, thawed Greek yogurt for this recipe. If using frozen, make sure it’s fully thawed and stirred well to remove any excess liquid before mixing it into the batter.
Can I Substitute Applesauce with Something Else?
Yes, you can use mashed banana or pumpkin puree as a substitute for applesauce. Keep in mind mashed banana will add a slight fruity flavor, while pumpkin puree is milder.
How Should I Store Leftover Brownies?
Store brownies in an airtight container at room temperature for up to 3 days, or refrigerate for up to a week. To refresh, warm slightly in the microwave for a soft, fudgy texture.
Can I Make These Brownies Gluten-Free?
Absolutely! Substitute the all-purpose flour with a gluten-free flour blend one-to-one. Just make sure the blend contains xanthan gum or a similar binder to keep the texture right.